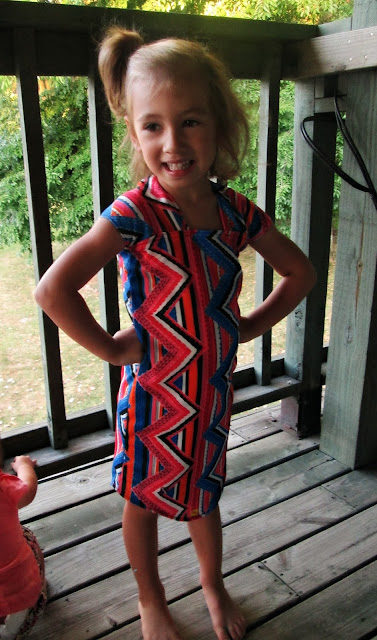
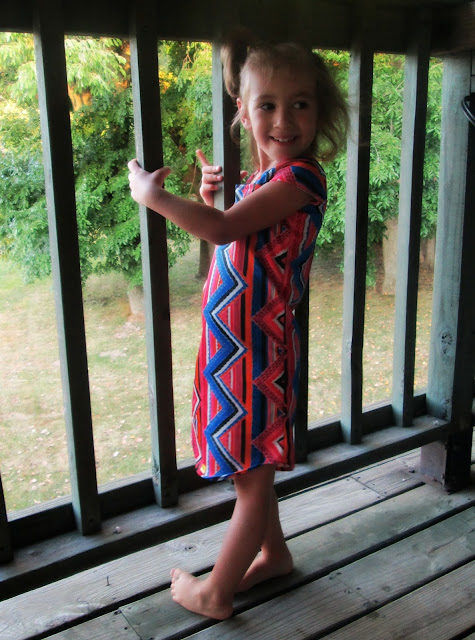
Evelyn discovered this zany fabric at a garage sale over the summer and asked that I make a dress out of it. The print is so bold that I decided to keep the cut simple and it turned out pretty cute. It took less than an hour to cut and sew (including a baby constantly tugging on me and the fabric).
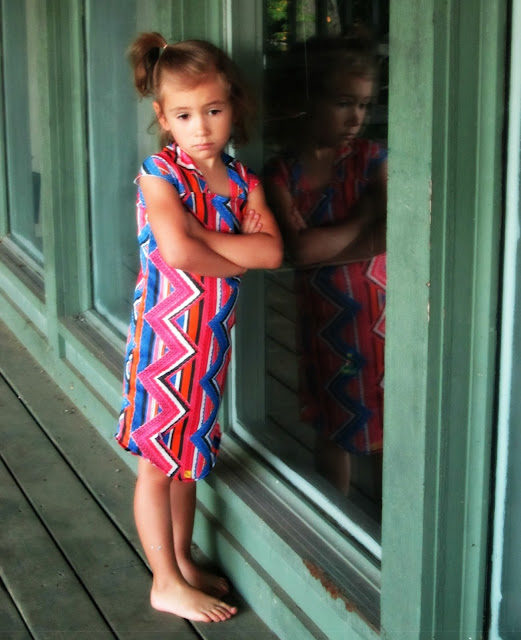 |
| There’s the sassy… |
What You’ll Need:
1 yard fabric (depending on size of child)
Matching thread
Scissors, pinking shears, seam ripper, iron, etc.
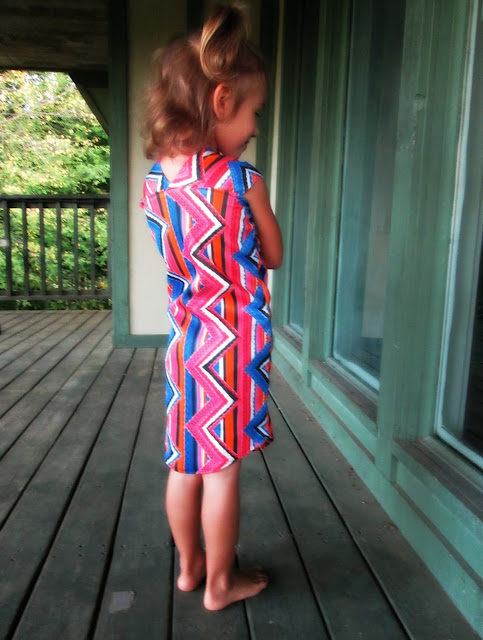 |
| This dress is quick, especially since the wide straps act as sleeves with very little sewing. |
1. Measure child from collarbone to knee and chest circumference.
2. Cut pieces for dress adding about 1″ for seam allowance at top and bottom. The front and back should be mirror images–the top is a straight cut at the collarbone and the hem at the knee should follow a slight curve.
3. Measure over child’s shoulder from collarbone to shoulder blade. Cut a four inch wide strip the length of their shoulder (include a 1/2″ seam allowance).
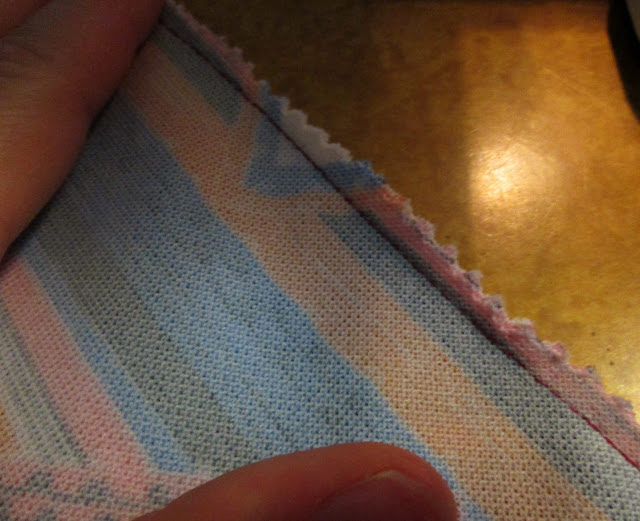
4. With right sides together, sew sides of the front and back. Cut next to seam with pinking shears.
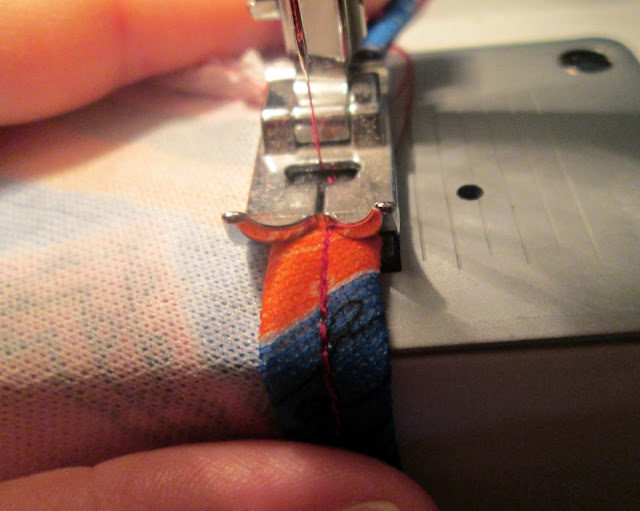
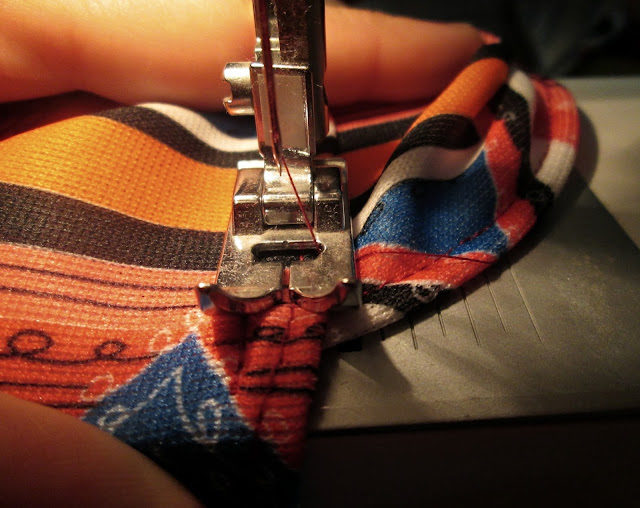
5. Using a rolled hem, finish top of dress.
6. Using a rolled hem, finish bottom of dress.
7. Cut edges of shoulder pieces with pinking shears to prevent fraying.
8. Fold over, press and sew both edges of the shoulders (fold over wrong side to wrong side).
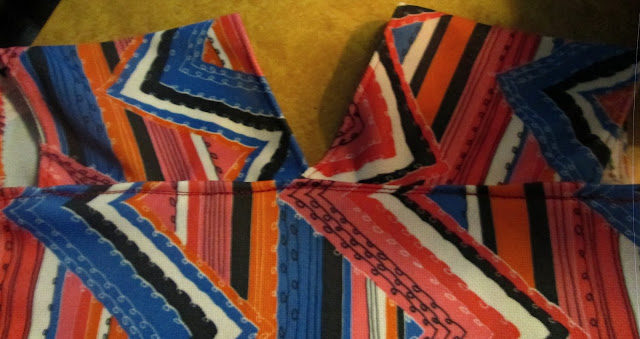
9. Starting in front, attach the outside edge of the shoulder pieces at the side seam (they should be equidistant from where the child’s neck will be). Be sure they are not angled. Sew along the seam line of the top of the dress to attach.
10. Attach the shoulders in back at an angle with one overlapping the other (it allows the wide straps to act as sleeves rather than only as straps). Sew along the back seam line of the top of the dress.

