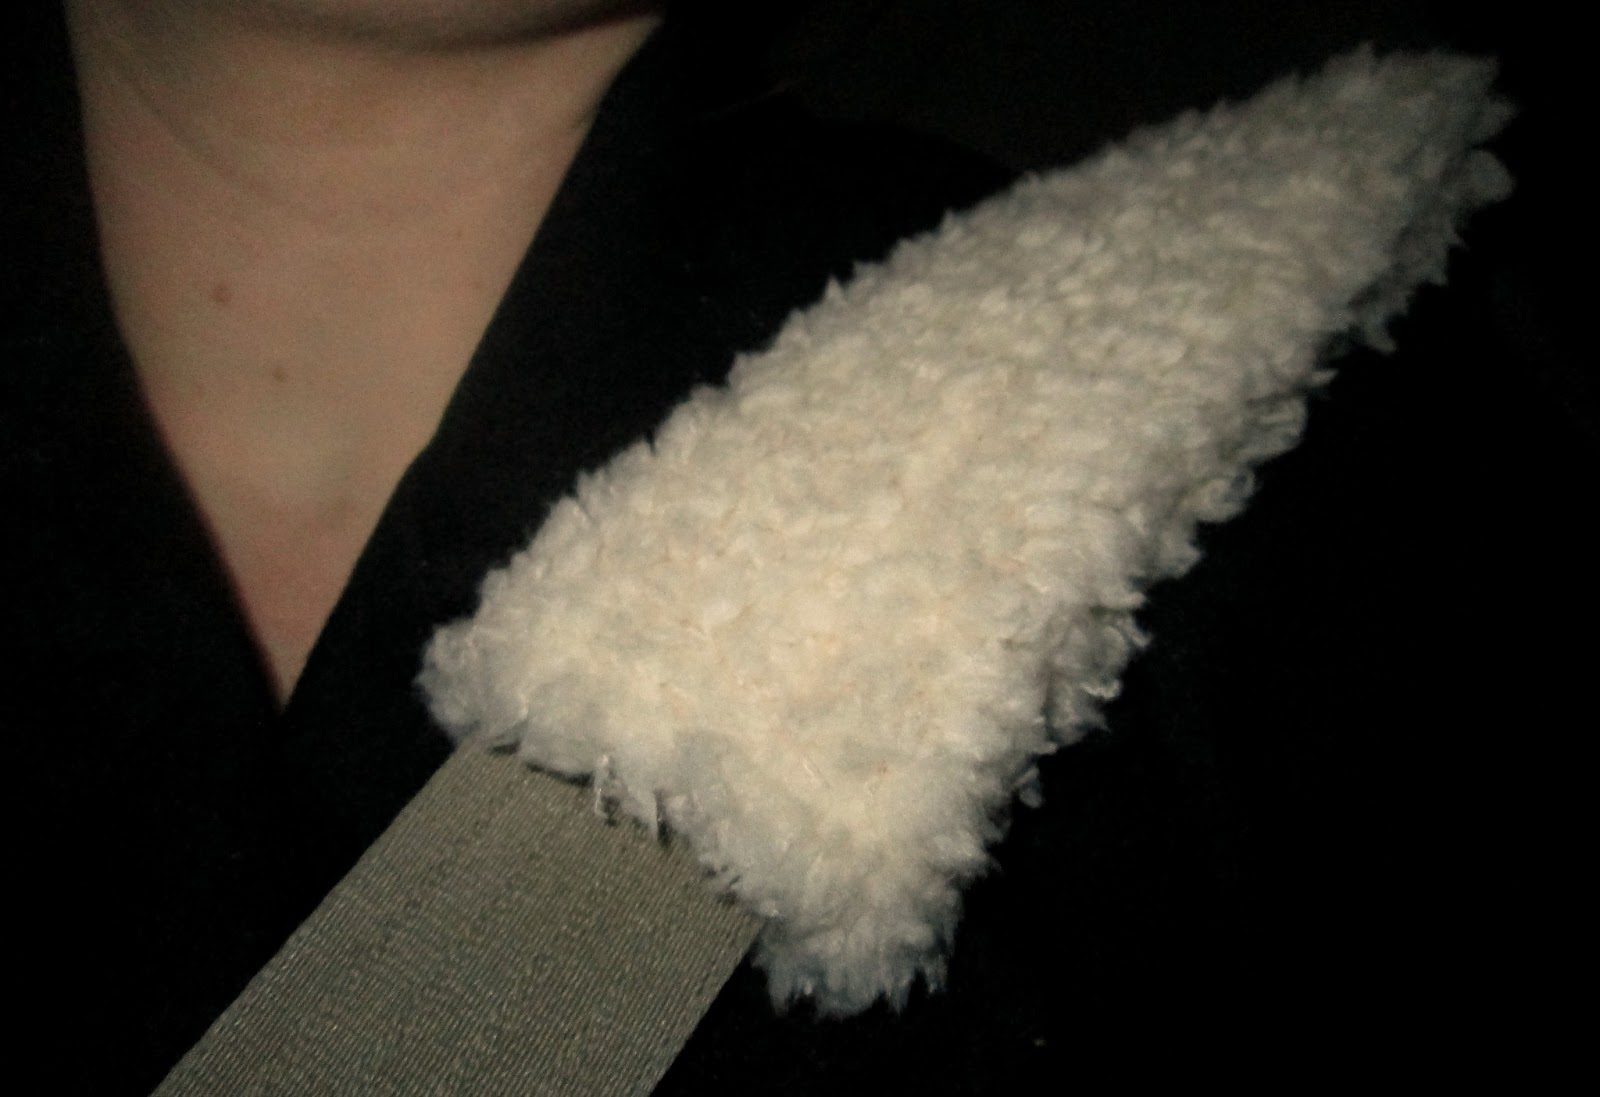
Since we have reduced our car fleet to our one truck in anticipation of purchasing a minivan, the girls and I have been confined to home most days. Though apartment living lacks many of the adventures homesteading offers, there are some benefits. The sewing machine has been able to make a reappearance and to get warmed up, we decided to make simple seat belt covers. As much as we love the truck, Evelyn and I aren’t quite tall enough so the seat belts slowly saw at our necks. This is our solution!
You’ll Need:
A scrap of soft fabric–think sherpa, fleece, etc (a 10 by 10 square was plenty for our project)
Sew on velcro
Scissors, matching thread, tape measure, etc
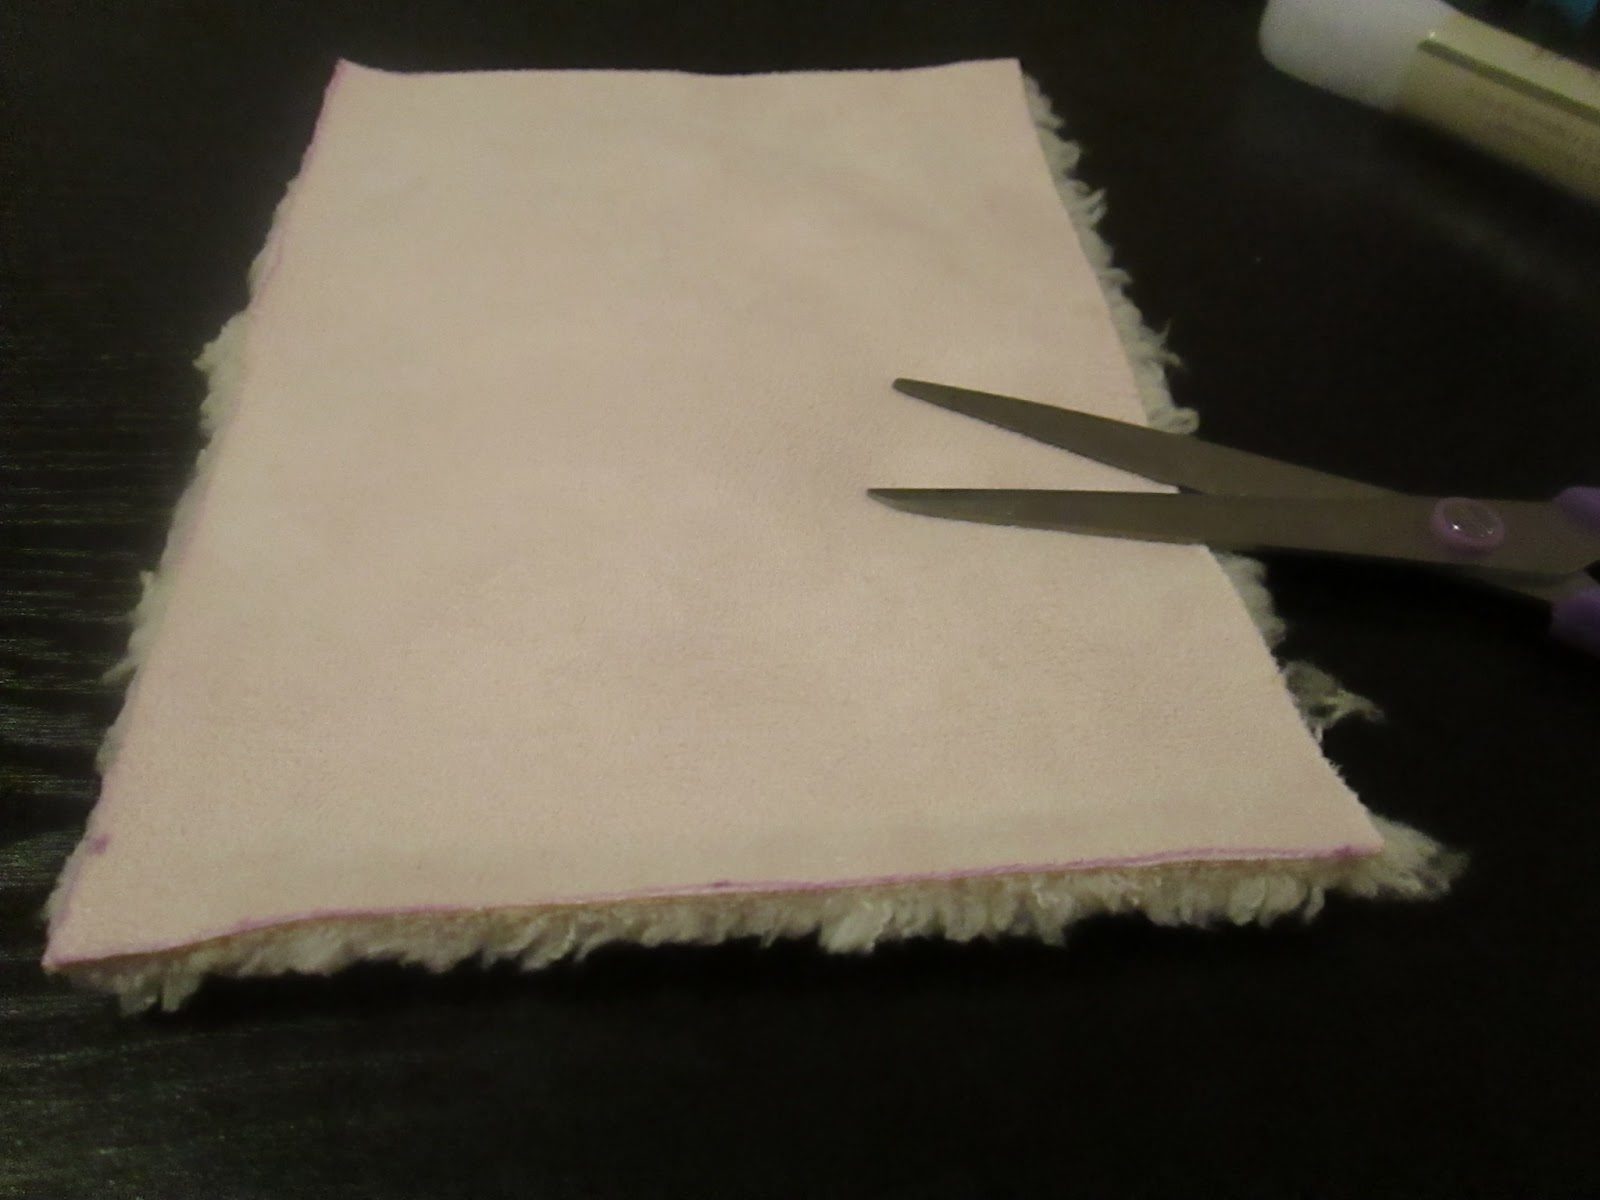
1. Measure the width of the seat belt. Multiply it by two (so the cover can wrap around the belt. Measure the width of the velcro and multiply by two, adding it to the total width of the fabric. Add about an additional inch for seam allowance.
2. Measure how long you’d like your seat belt cover. Add about one inch for seam allowance. Cut out fabric.
3. At the top of the fabric (the opening where the belt will run through), fold the fabric (wrong side to wrong side), pin down and sew.
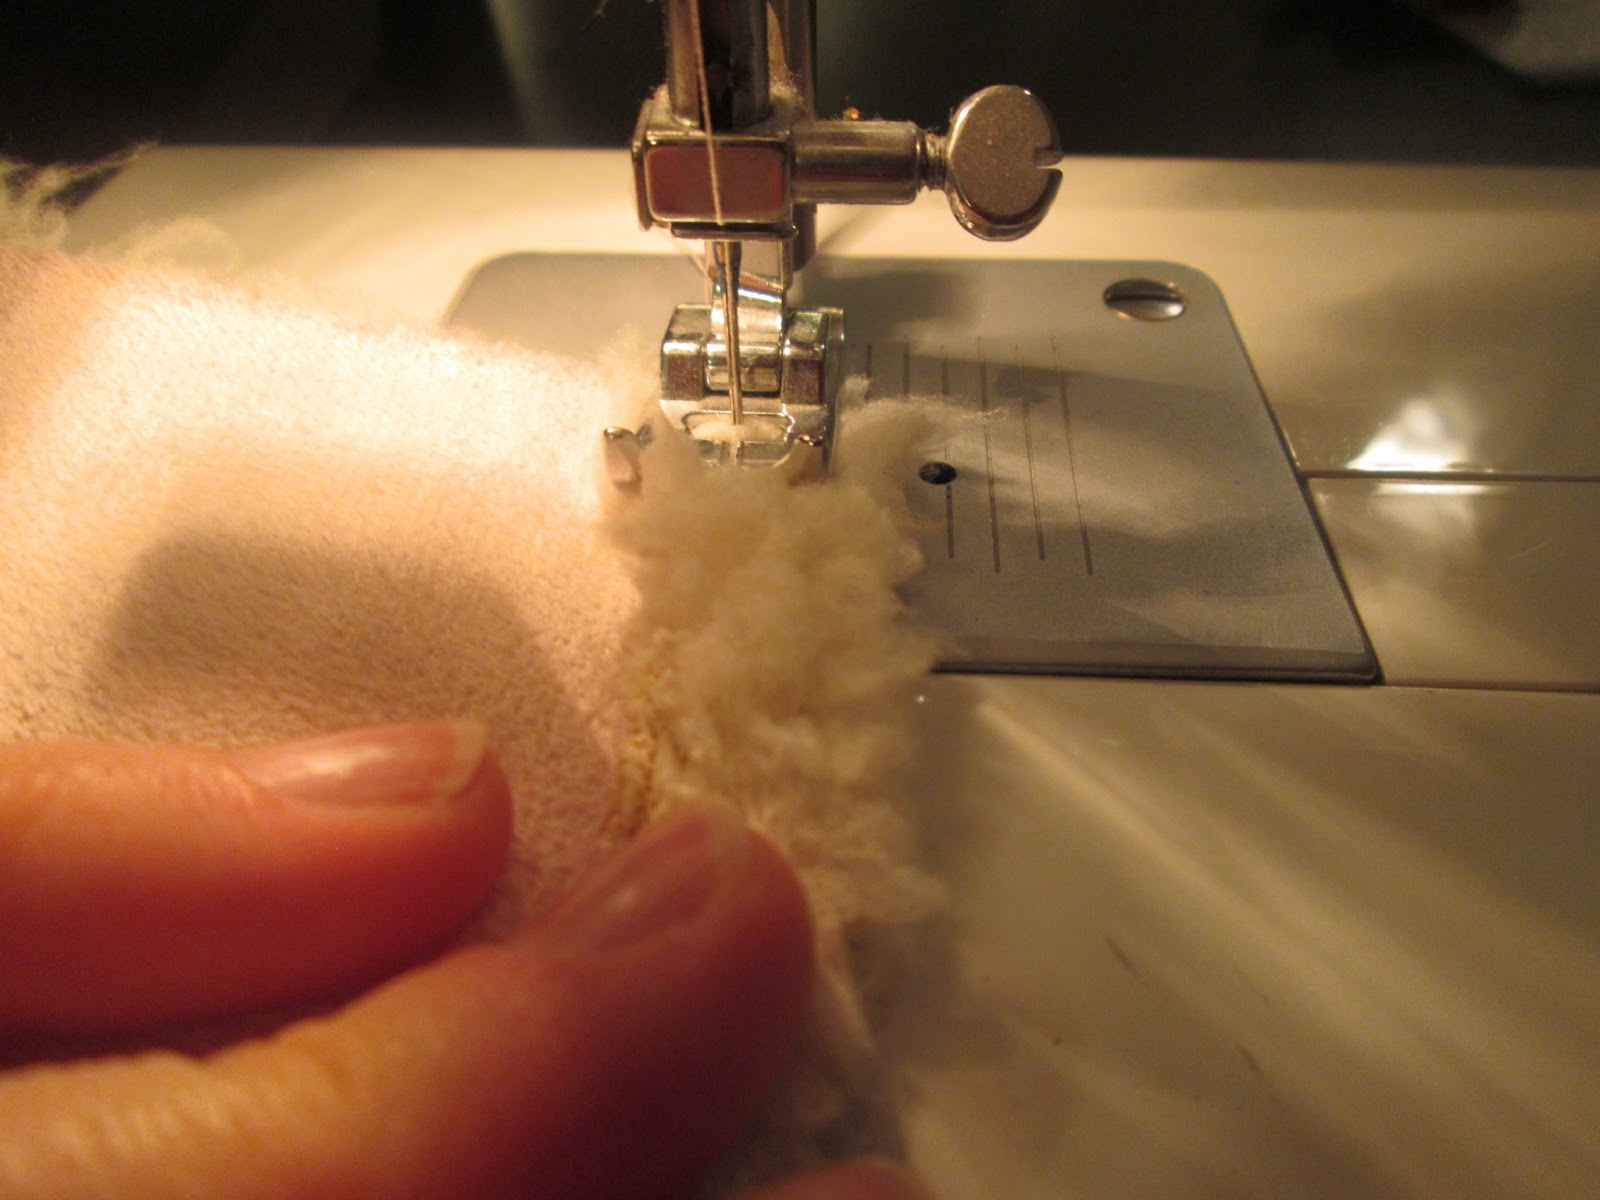
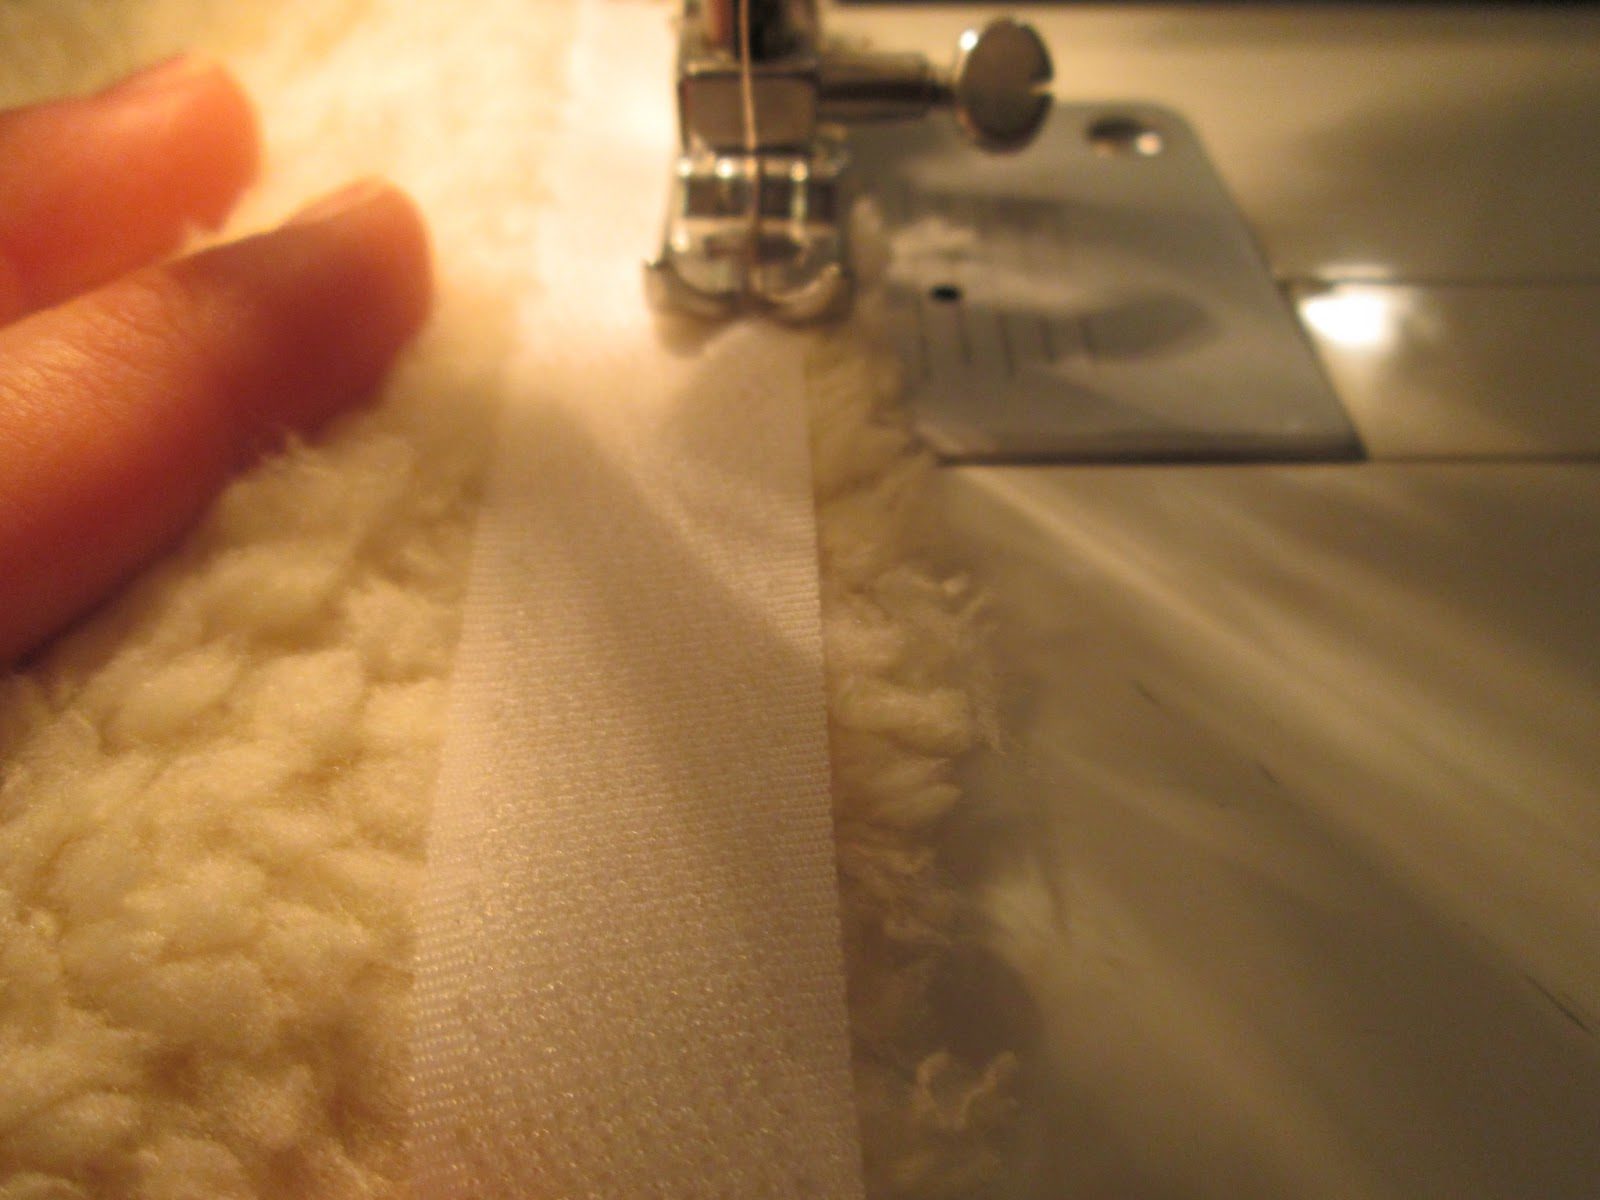
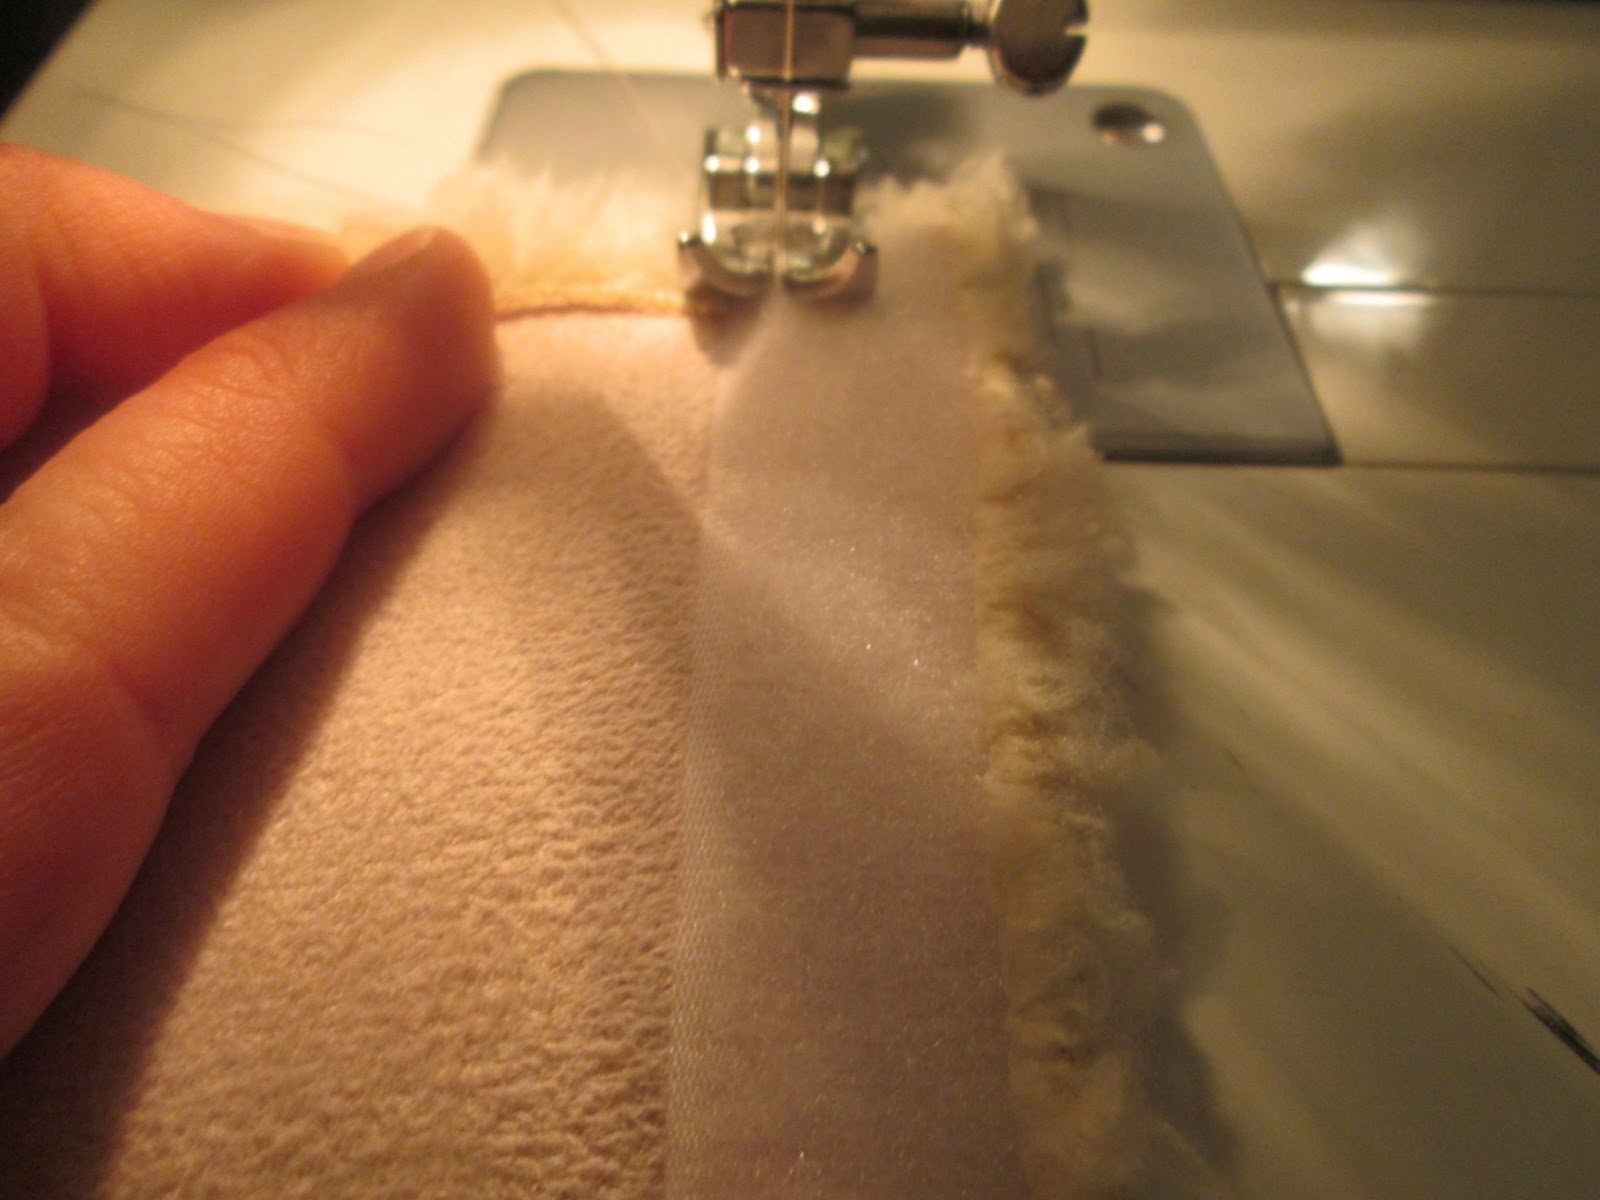
4. On the sides of the fabric, measure and cut a piece of velcro. With right sides of both fabric and velcro together, sew along the outside edge of both.
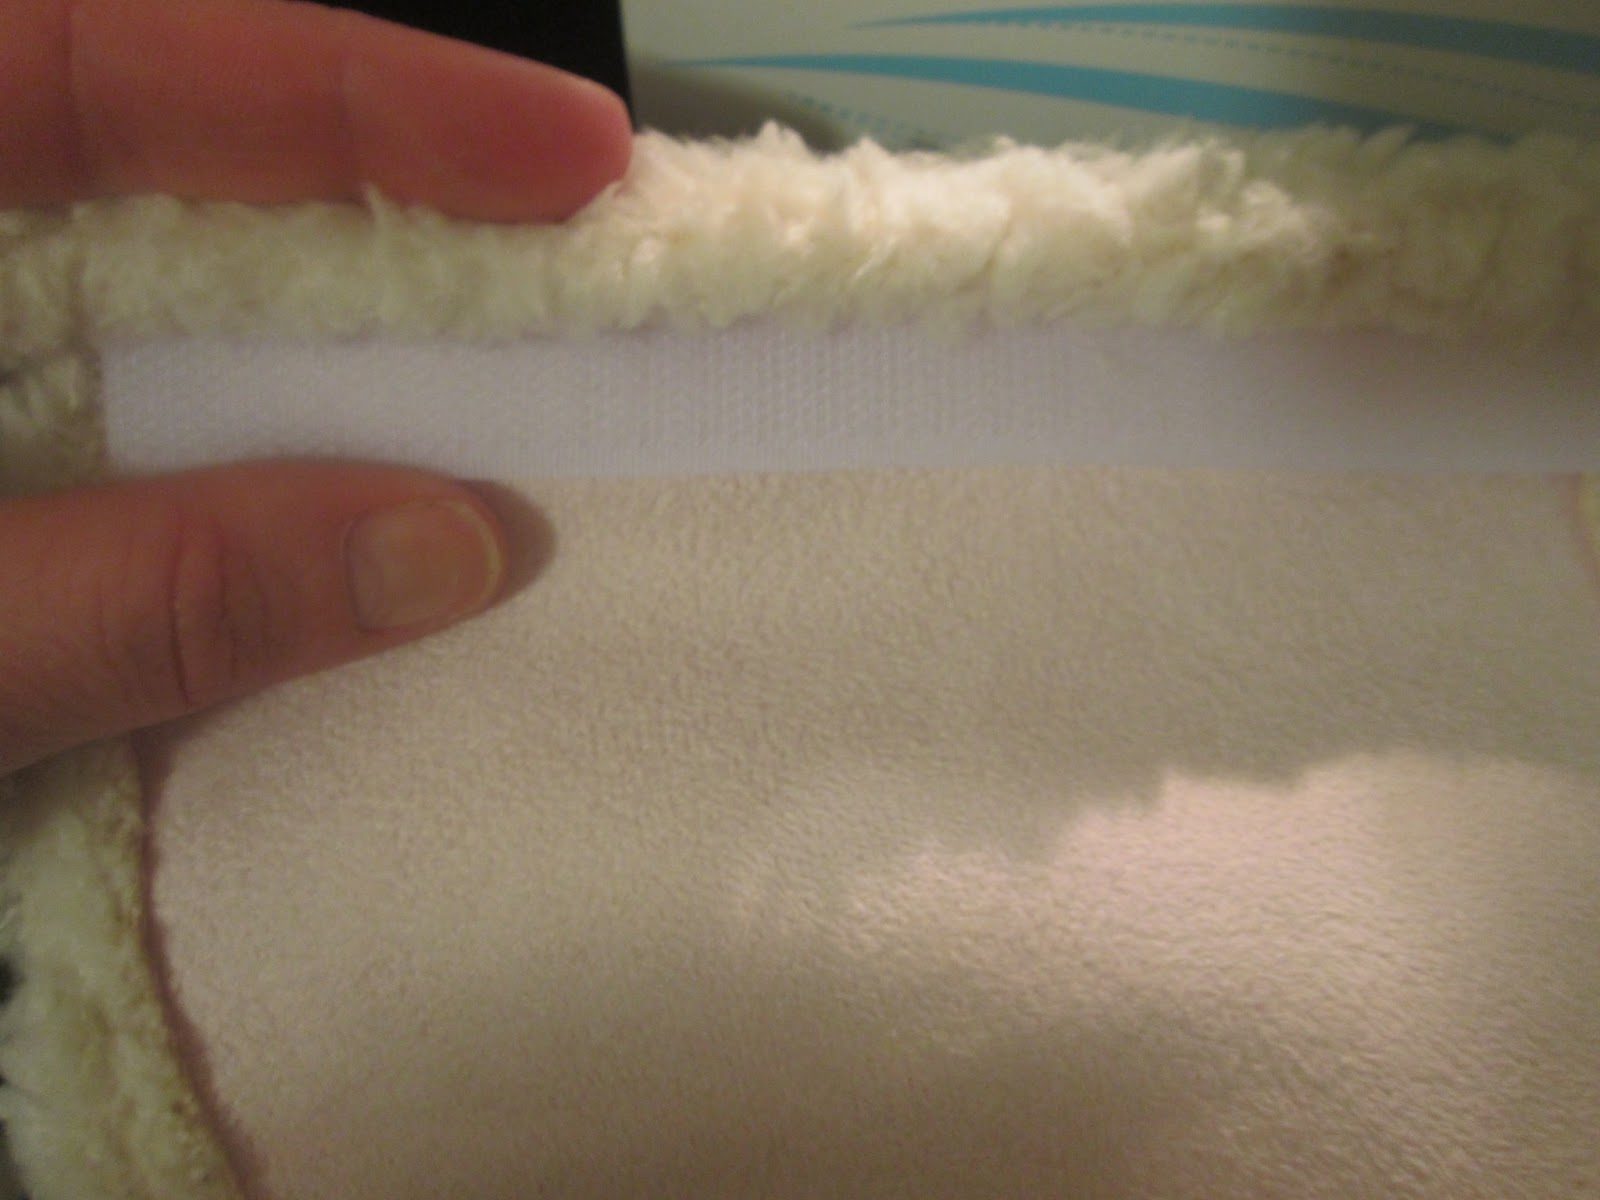
5. Turn velcro over, press the seam if needed and sew the final edge of the velcro (now the wrong side of both the fabric and velcro should be together).
6. Repeat steps four and five with the second piece of velcro.




One Response
Great tutorial! This would really come in handy for me.
Thanks for visiting my blog and leaving the sweet comment! I'm following you now via GFC and just entered your awesome giveaway. Congrats on the 50k milestone! So exciting 🙂