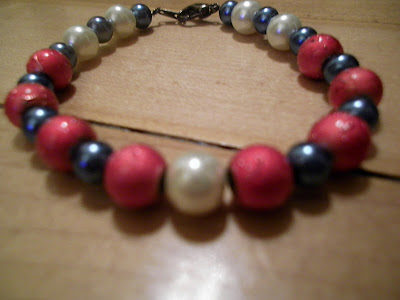
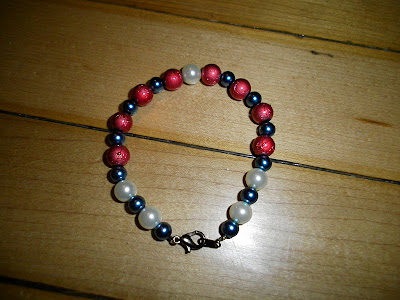
This year I decided to handmake a higher percentage of our gifts, partially because we’re pinching pennies but also because I want our recipients to feel that they were important enough for us to spend our time crafting something for them.
My mom introduced me to beading jewelry. While our tastes differ considerably, there are underlying basics that carry through each piece of jewelry.
Here’s a quick tutorial on how to customize a pile of beads into a handmade bracelet:
You’ll Need:
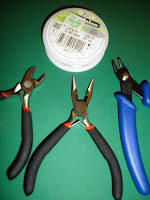
Wire cutters
Pliers
Jewelry crimp
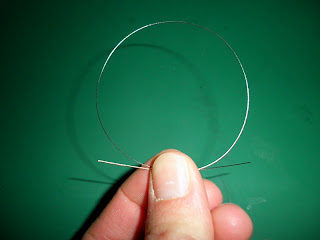
Jewelry wire
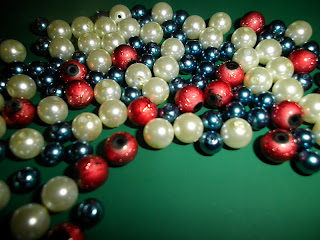
Beads
One clasp
Crimp beads
Jump rings (optional)
1. Measure wire for wrist plus a few inches (you can always trim when you’re finished!)
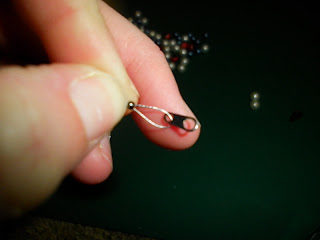
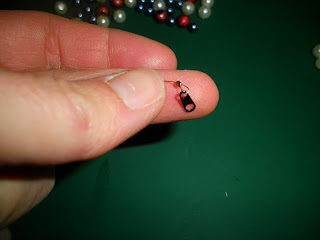
2. At an end, attach one side of the clasp by first stringing on a crimp bead, then the clasp, then threading the wire back through the crimp bead, making a small loop. Ensure the end of the wire is not sticking out of crimp bead. Crimp securely (I choose not to use jump rings because when my girls yank on my jewelry, that’s always the weak link. If you prefer to use a jump ring, make a small loop with the crimp bead, attach the jump ring through the loop and the end of the clasp onto the jump ring).
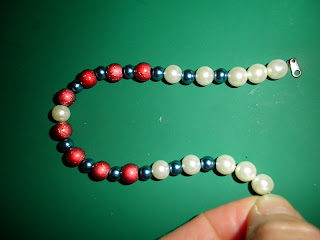
3. Begin adding beads in your desired pattern.
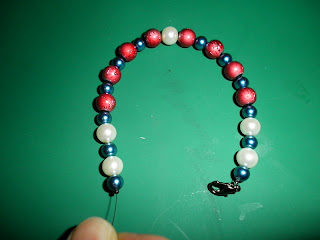
4. At the end of the beads, thread on a crimp bead and crimp it tightly against the beads so there are no gaps between the beads that would expose wire.
5. After the crimp bead, thread on another crimp bead, the other end of the clasp and loop the wire back through the crimp bead. Form a small loop making sure end of wire is not sticking out of crimp bead (you may need to trim the wire at this point so there is no excess wire once the bracelet is finished).
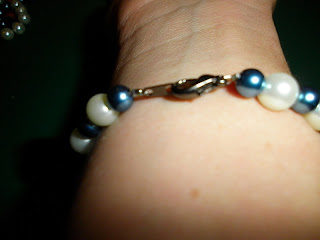
5. All done! Give away or keep for yourself!
