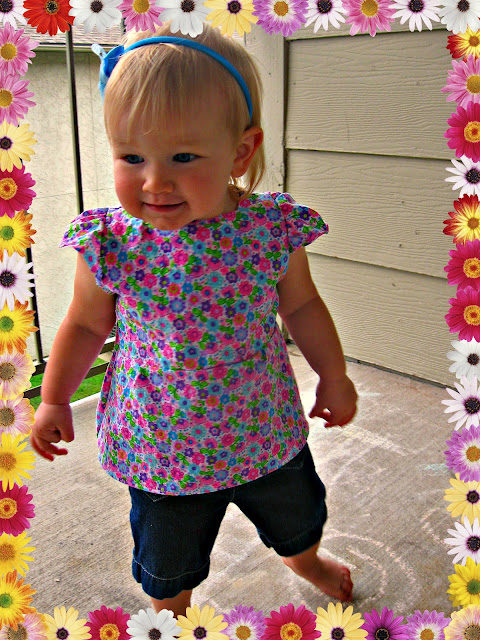
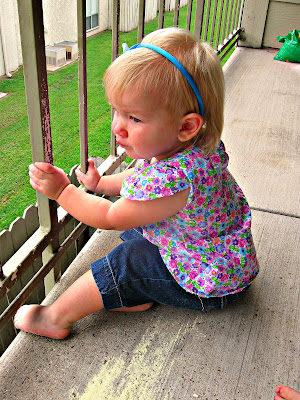
Claire has been growing like a weed so I decided to make her a lightweight summer blouse. Without a pattern or other blouse to trace, all you really need are a child’s measurements for the chest, waist, hips, shoulder to waist and back of neck to hips. The majority of the pattern can be free-handed and tailored to fit the child individually.
All You Need Is:
About a half a yard of lightweight cotton fabric
Scissors, marking pen/tailor’s chalk, thread, closures, embellishments, etc.
1. Cut two bodices pieces (one for the lining)–using the child’s measurements. Trace a neckline, shoulders, arm holes and a bodice section measuring from shoulder to waist. Remember to add an additional half an inch on each side for seam allowance. (Just a tip: to make the pieces symmetrical, cut half of the pattern and fold over–trace and cut).
2. Cut one piece for the back, tracing out a neckline, shoulders, arm holes, the back measuring half the width of the chest and waist, measuring from the back of the neck to below the waist.
3. Cut two pieces of fabric for the bodice skirt. The top of the bodice skirt should be slightly wider than the bottom of the bodice to allow for gathering. The bodice skirt and the bodice should be an equal length as the back piece with an additional two inches for seam allowances.
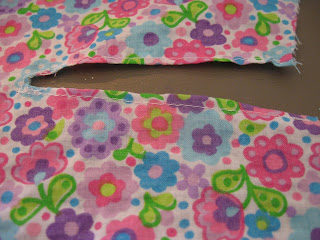
4. On the back piece, find the center on the neckline. Cut down two inches (to allow for easier on/off). Hem neckline and cut in back.
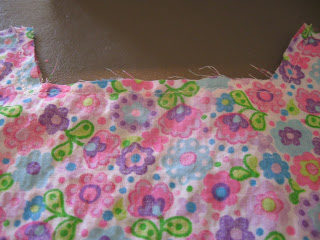
5. With right sides together, hem neckline of two bodice pieces.
6. Understitch neckline. Press.
7. With right sides together, stitch together shoulders.
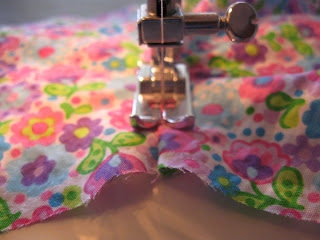
8. Hem armholes.
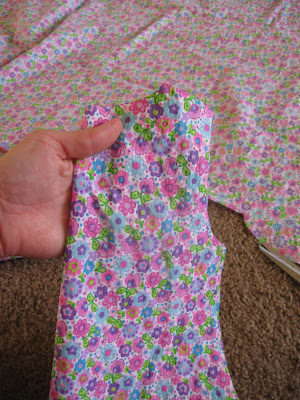
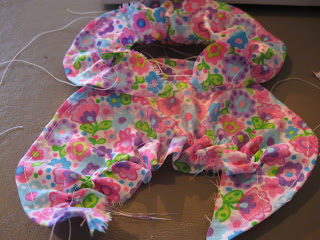
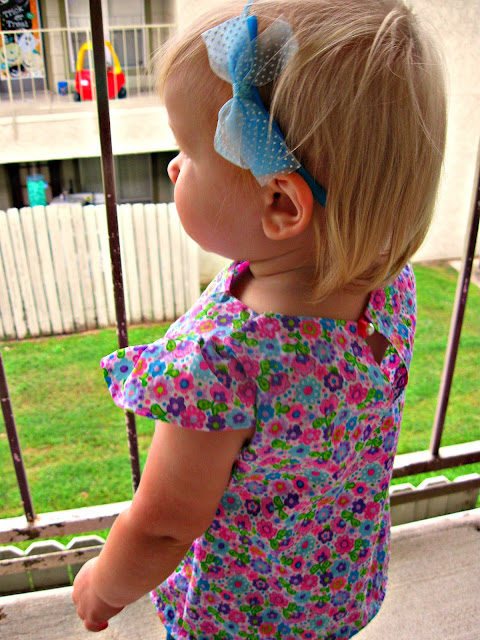
9. If you’d like sleeves, cut two strips of fabric several inches wide. Draw an arc (you can fold the fabric in half to ensure symmetry). Hem along arc, baste and gather sleeves to the same length. (You can change the size of the sleeves by shortening or lengthening the length and changing the shape of the arc).
10. Attach the sleeves (the gathered section) onto the bodice and back piece, right sides together. Stitch along the length of the sleeve.
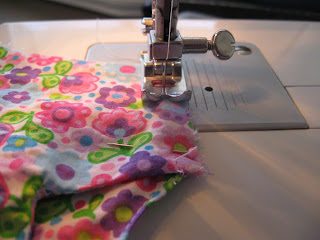
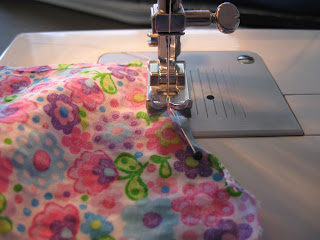
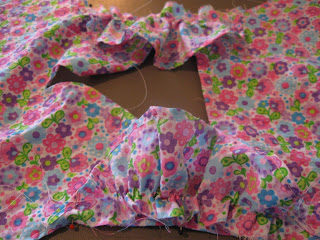
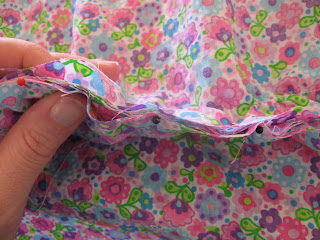
11. Baste the tops of the two bodice skirts. Gather to the length of the bodice. Attach to the bodice by pinning the right sides together (one bodice skirt right side to a bodice piece and the other bodice skirt right side to the right side of the bodice). Stitch together.
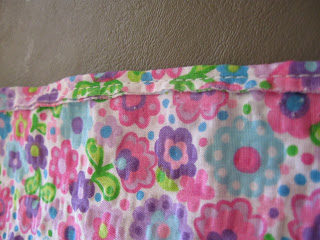
12. Stitch along sides (armholes to bottom). With the bodice skirts turned the right way, hem the bottom of the blouse.
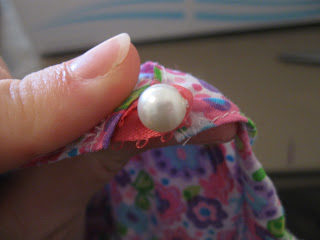
13. Add a closure (I used a loop of ribbon and a faux pearl button but a zipper, clasps, velcro or ribbon ties would be adorable).
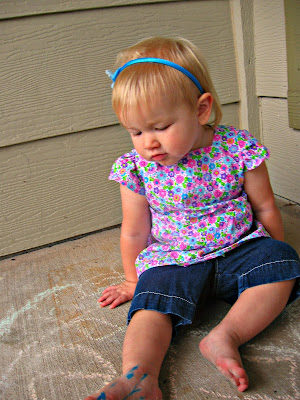 |
| Yes…she colored on her foot… |





One Response
Love this!! I'll definitely have to try it soon! Thanks!