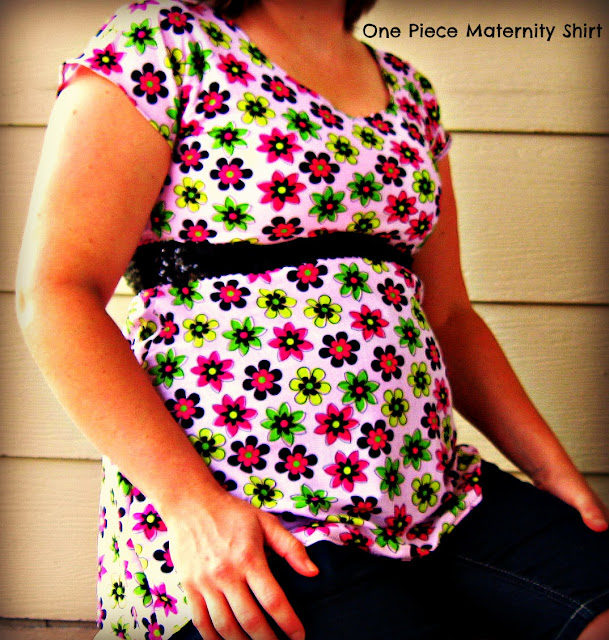
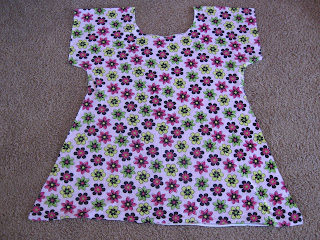
Though most of my shirts will still stretch around my belly, I’ve been having trouble ensuring they’re long enough to cover the elastic waist of my maternity shorts. Since most maternity clothes are either made out of tissue paper, are incredibly pricey or are too homely or worse, cleavage-ridden, I decided it was time to start sewing a few things for myself. I started about as simple as humanly possible but I think it made a pretty adorable shirt for under five bucks.
You’ll Need:
Approximately 1 yard cotton knit/jersey type fabric, 60 inches wide
Thread, scissors, seam ripper, measuring tape, fabric marker/tailor’s chalk, etc
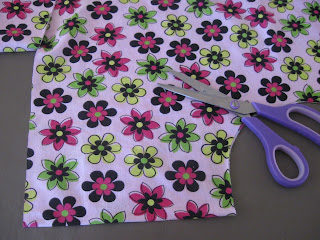
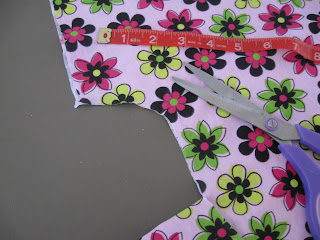
1. Fold the fabric in half (with the selvedges together at the bottom). In the center top (the opposite of the selvedge edge), mark and cut out a neckline, either by free-handing it or tracing another shirt’s collar.
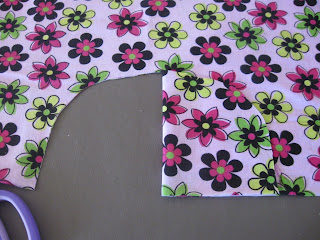 |
| It was helpful to cut half of the neckline, fold it over and cut out around the fabric to make it symmetric. |
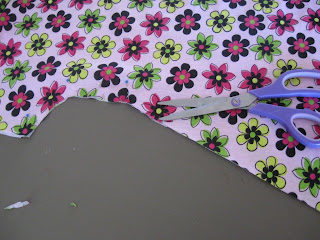
2. Measure from the neckline to where you want the sleeves to lay. Measure the circumference of your arm, divide the measurement in half and mark from the top fold straight down. Cut.
3. Measure your bust and mark on the fabric (remember it’ll be half the length when marking it on one side of the fabric). Cut from the sleeve to the bust measurement.
4. From where your waist is (above your preggo tummy), cut from the bottom corner of the fabric up to where the bust measurement ends.
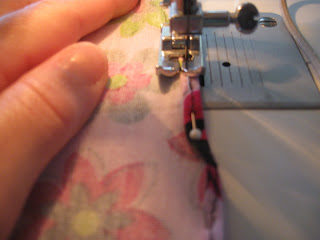
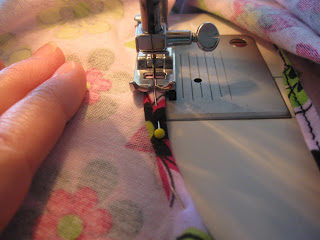
5. Hem the arm holes.
6. Hem the neckline.
7. Fold shirt inside out and with right sides together, line up sleeves and sew together sides from the sleeves to the hemline.
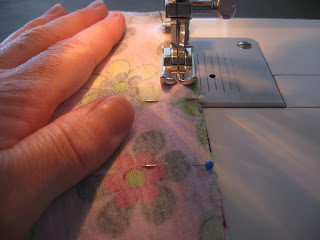
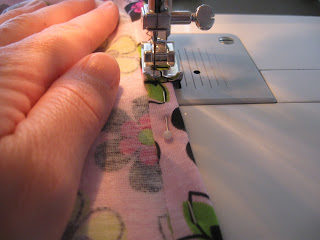
8. Hem bottom of shirt.
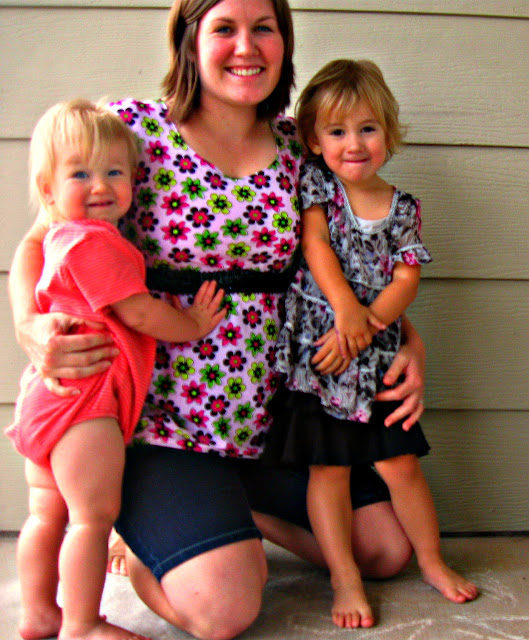 |
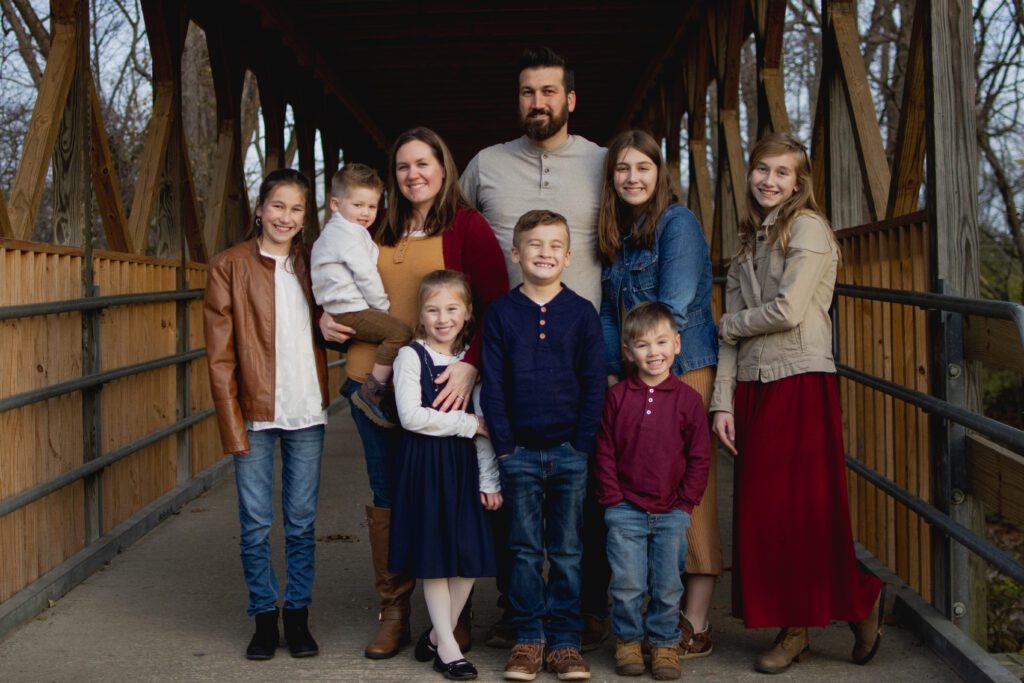
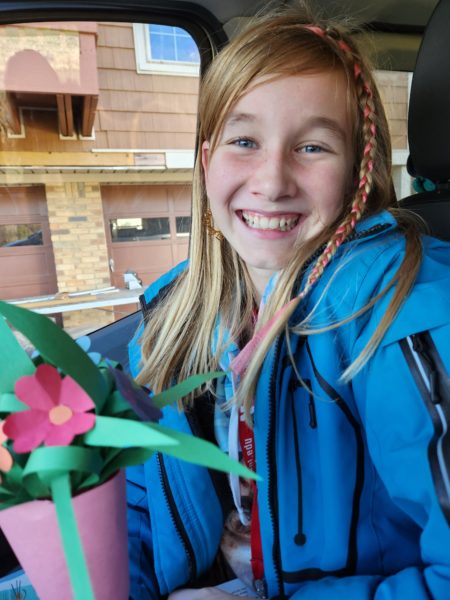
| Be prepared for your daughters and other little girls to be jealous of your cute new shirt! |



4 Responses
I didn't even know you were expecting… CONGRATS! :0)
Thank you!
It turned out so pretty! thanks for sharing this with us. this fab project was featured at this week's crafty saturday party! ^^)
Hugs,
Lelanie
Awesome! Hope everyone enjoys it!