I wanted to do something special for the arrival of my nieces a few weeks ago and stumbled across a project making nightgowns out of vintage pillowcases. Of course, I don’t have a pile of vintage pillowcases lying around (does anybody???) so I modified the pattern for new material and made the Nightie Nightgown. They turned out so cute and weren’t terribly difficult to master–they’re a lot like the summer blouse I made last year for Claire. Use a lightweight fabric and they’re cool enough for those hot summer nights while being comfortable enough to wear all day (believe me they’ve tried).
What You’ll Need:
1 yard (+/-) fabric (depending on size of child)
Pinking shears or serger
Thread, scissors, tape measure, bias tape (optional), etc.
Bodice pattern found here (scroll down to the bottom)–the pattern size is 4T but it can be adjusted to be larger or smaller
Most of the seams are “finished” using pinking shears but a rolled seam or serger could be substituted instead. Or just skip it altogether and use bias tape instead of rolled hems and pinking shears!
1. Measure child and adjust bodice pattern as needed (the bodice pattern provided fit my four year old).
2. Cut bodice pattern according to instructions.
3. Measure child from high waist to desired length of gown plus about four and a half inches for an exaggerated rolled hem.
4. Cut the gown section–it’s the entire width of the fabric by the desired length plus the hem allowance (it should be one piece).
5. With right sides together, sew front bodice and two back bodice pieces together. Cut raw edge with pinking shears.
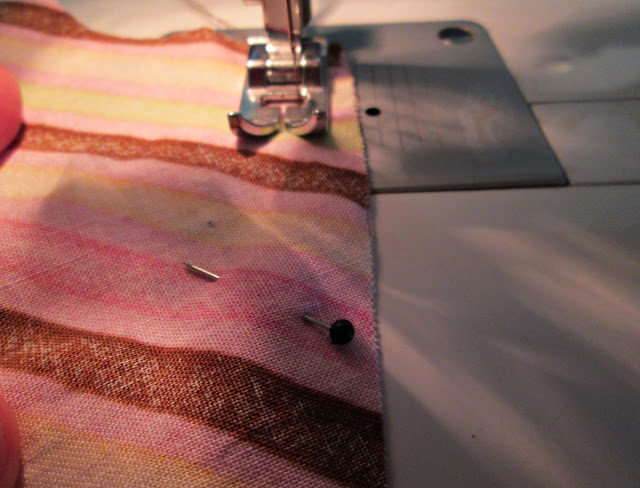
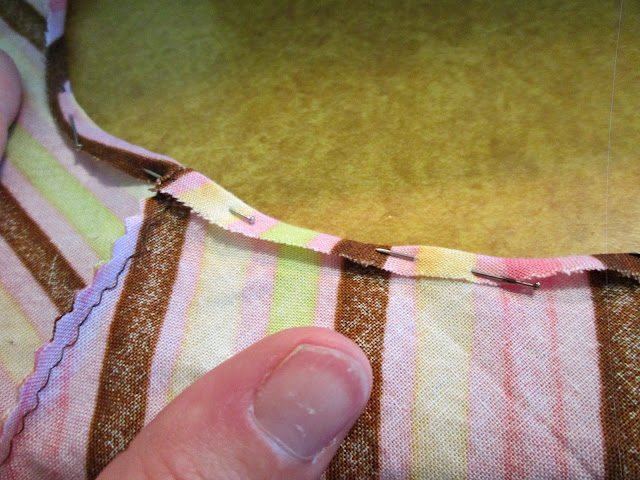
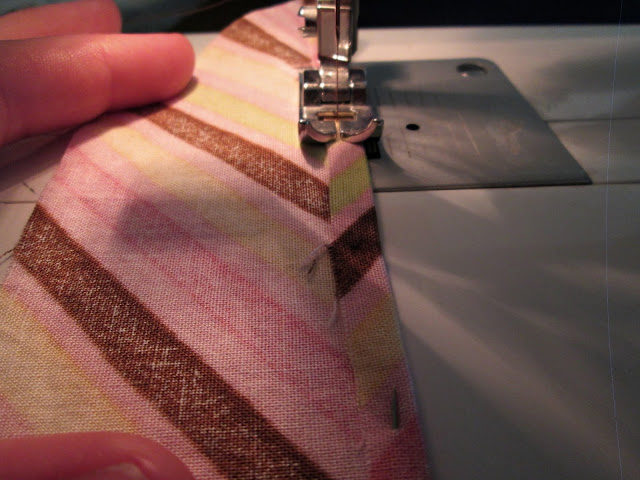
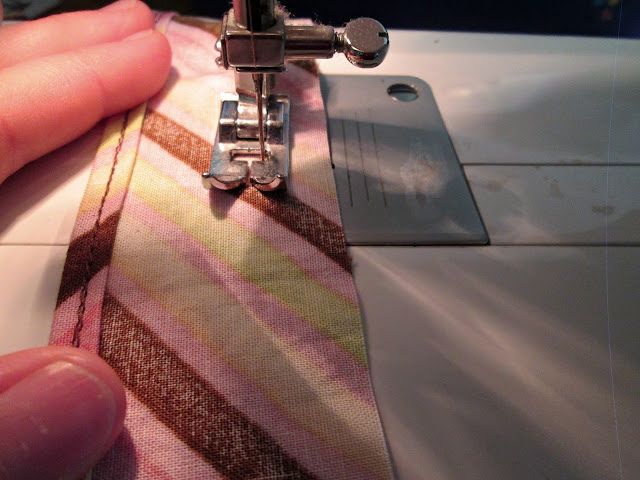
6. Using a rolled hem, press and sew along neckline.
7. Using a rolled hem, press and finish outside edges of the sleeves.
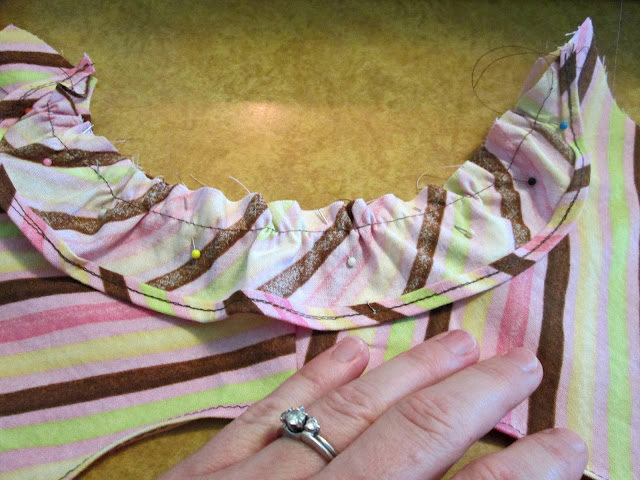
8. Baste along the inside edge of the sleeves and pull to gather to the correct length of the armhole.
9. With right sides together, line up gathered sleeve pieces and curve along the length of the armhole. Once secured, cut raw edges with pinking shears.
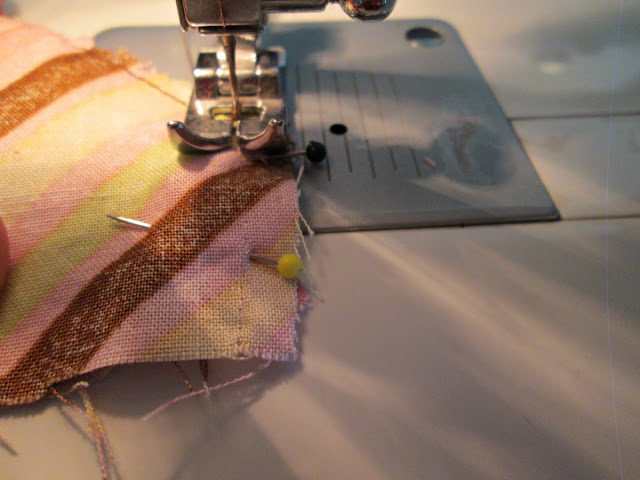
10. With right sides together, sew up the sides of the bodice, under the finished sleeve. Use pinking shears on raw edge to prevent fraying.
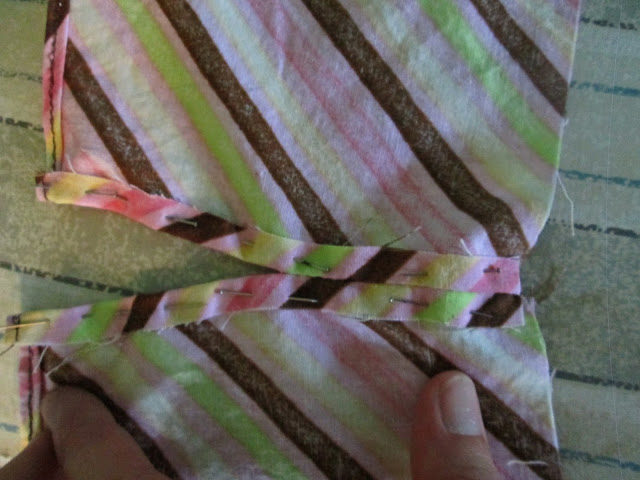
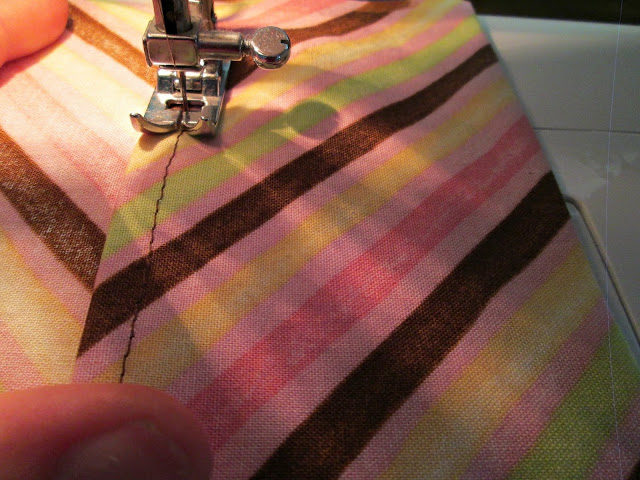
11. With right sides together, sew halfway up back of the bodice. Then press the seam open, pin down and sew to secure. Use pinking shears on raw edges.
12. Hem the bottom of the skirt piece by using an exaggerated roll hem (I used about four inches as the bottom hem allowance after the initial hem).
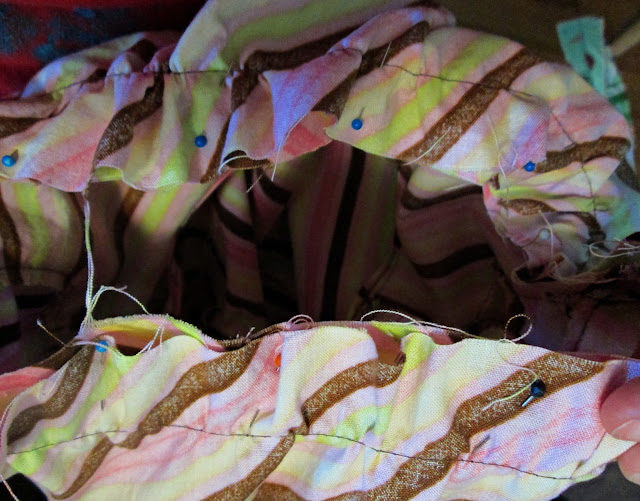
13. Sew up the side of the skirt and use pinking shears on the raw edge. Baste around top and gather to fit the circumference of the bodice. With right sides together (drop the bodice inside the skirt), pin together and sew around the top. Cut raw edges with pinking shears.
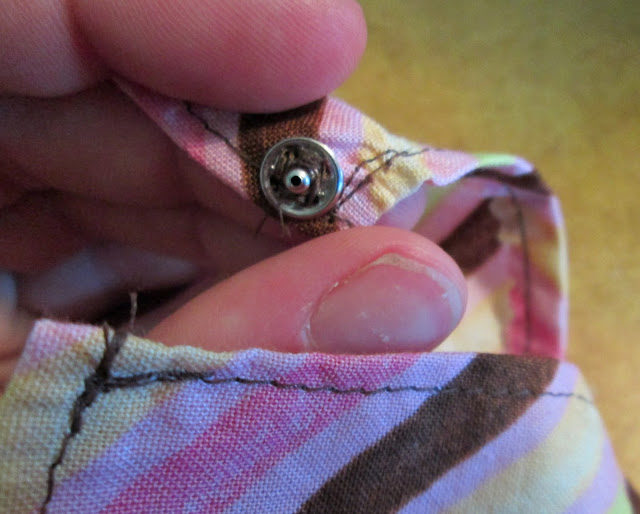
14. Attach a button, hook or snap at the top of the bodice.


