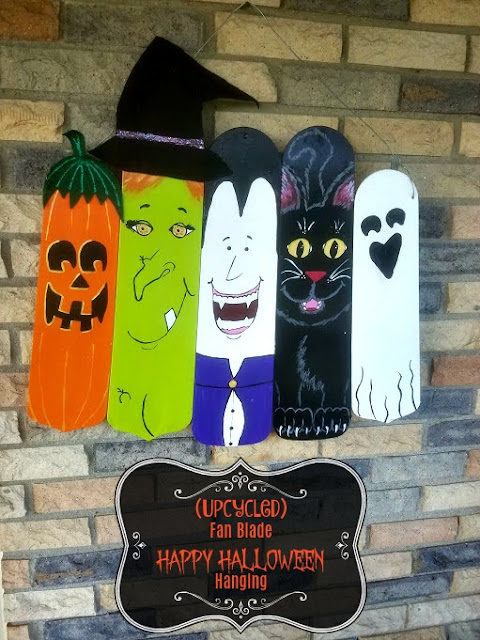
 |
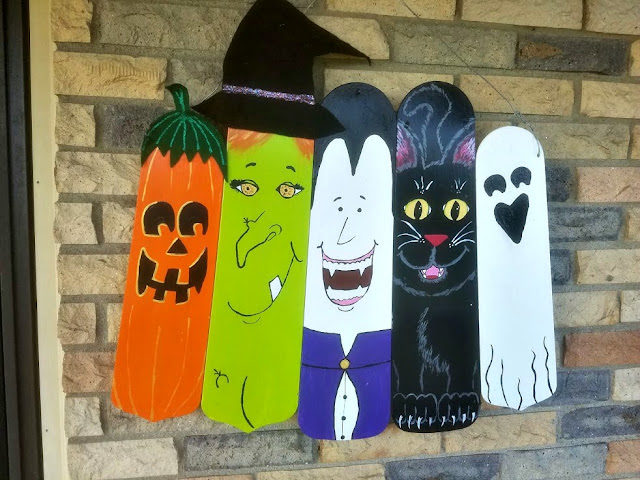
| Don’t they all look so happy? 😉 |
One of the first things we did when we moved into our New Harmony home was to update the old fans. Since I hate throwing things away, I kept all fourteen (yeah, it was a lot of light) fan blades to use for crafts. We’ve made a DIY Bling Butterfly before but this time, we saved the blades for something Halloween related…because you can never have too many Halloween decorations, right?
So, if you’d like to make one of your own, here’s how to do it:
You’ll Need:
Fan blades (3 to however many you want)
Screwdriver
Wood filler and sandpaper
Primer
Craft Paint
Paint Brushes
Felt, glitter glue, raffia, etc (whatever you’d like to decorate it with)
Construction adhesive
Thin pieces of wood for attaching together (must be the length of however many blades you use)
Wire for hanging
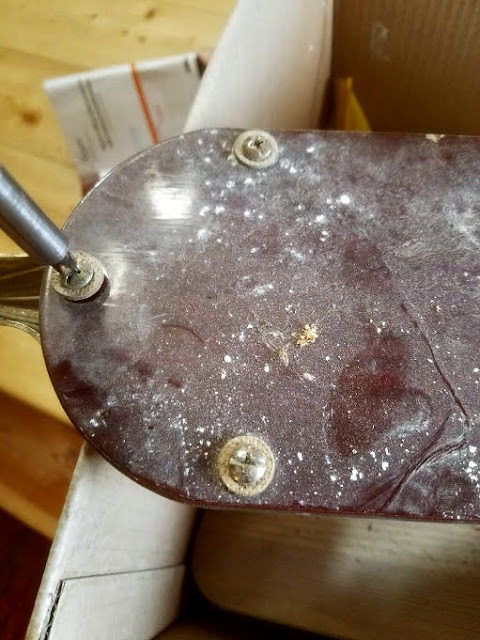
1. Remove the screws and hardware from fan blades
2. Clean and dry fan blades
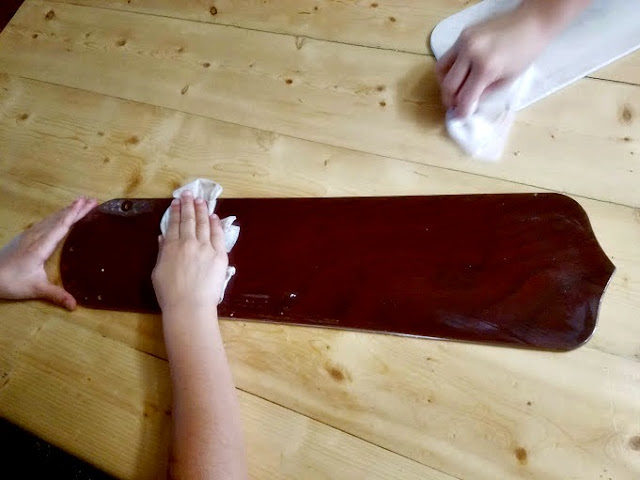 |
| A great job for kids to do. 😉 |
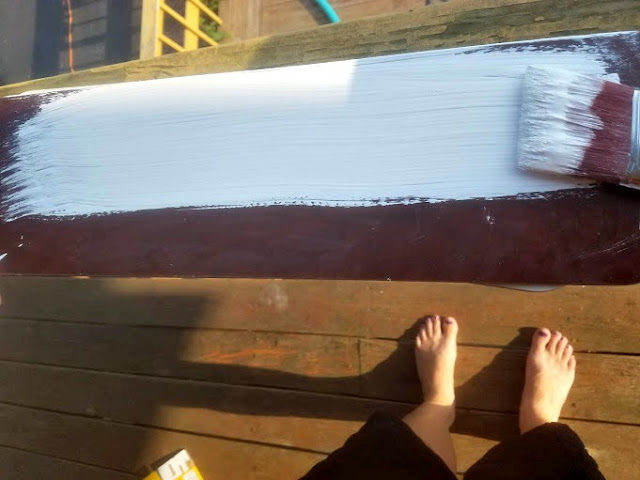
3. Prime fan blades (I use Bullseye Primer because it sticks without having to sand–click here for an Amazon link)
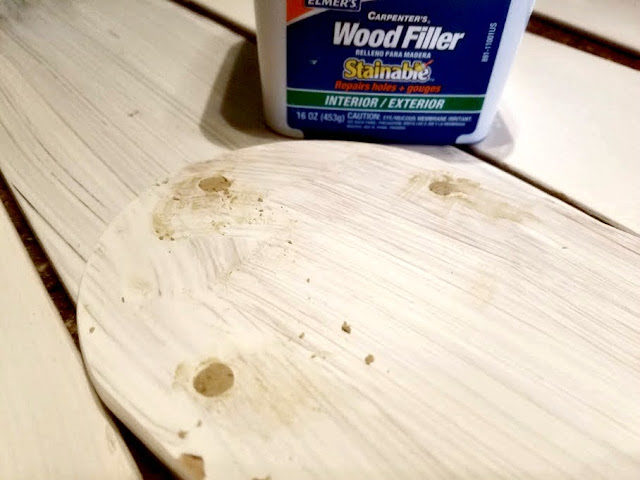
4. Fill in holes with wood filler–leave any holes unfilled that will be used for hanging (click here for an Amazon link if you need some wood filler).
5. When dry, sand filler until smooth.
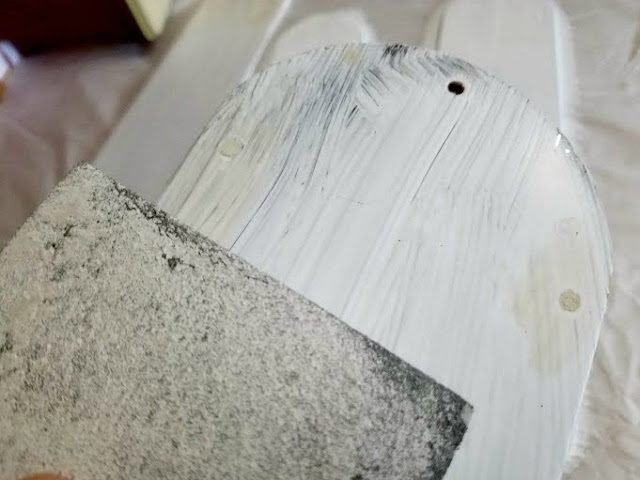 |
| The hole at the top was left open for hanging the completed project. |
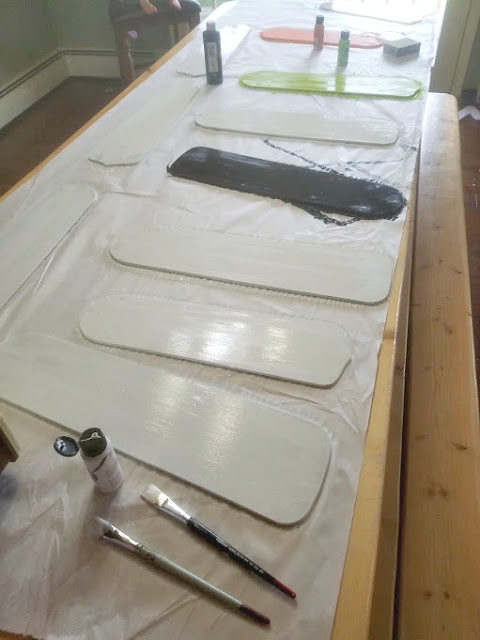
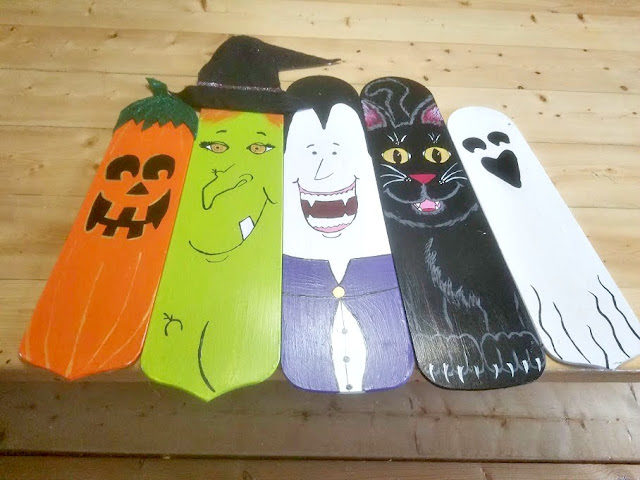
6. Once you’ve decided what characters will be included in your hanging–think vampires, witches, black cats, pumpkins, ghosts, Frankenstein’s monster, etc–paint the base colors. Once dry, sketch characters with pencil and paint details.
7. Once the characters are finished, paint with a coat of polyurethane to make them more durable and weather resistant (we like Rust-Oleum’s water-based version)
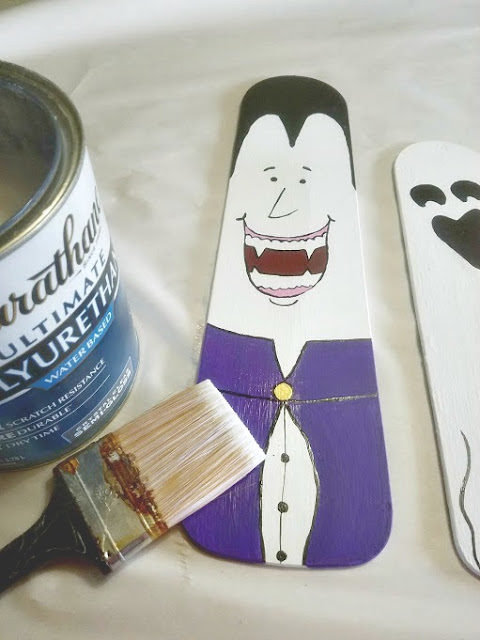 |
| Isn’t Dracula cute?? |
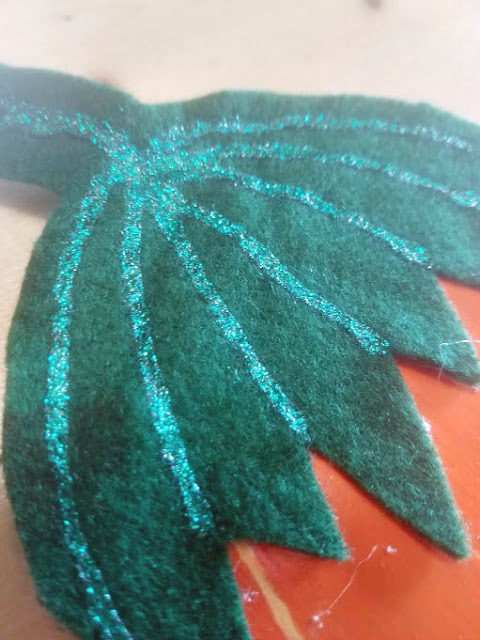
8. Add any felt detailing, if needed.
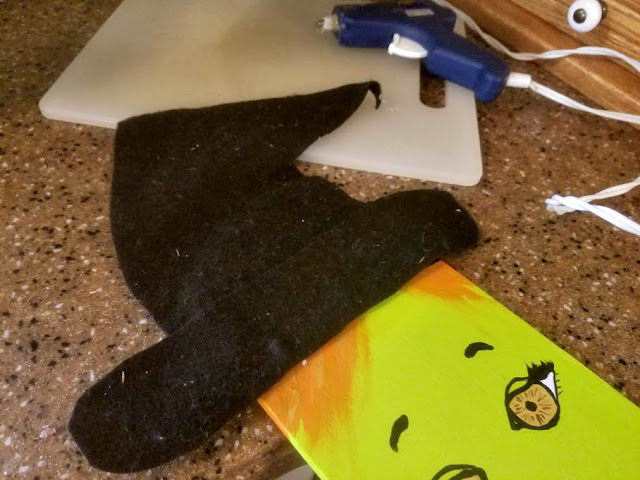 |
| Every witch needs a hat! |
9. Finish with any glitter glue, rhinestones, raffia, etc.
10. Decide in what order you’d like the fan blades
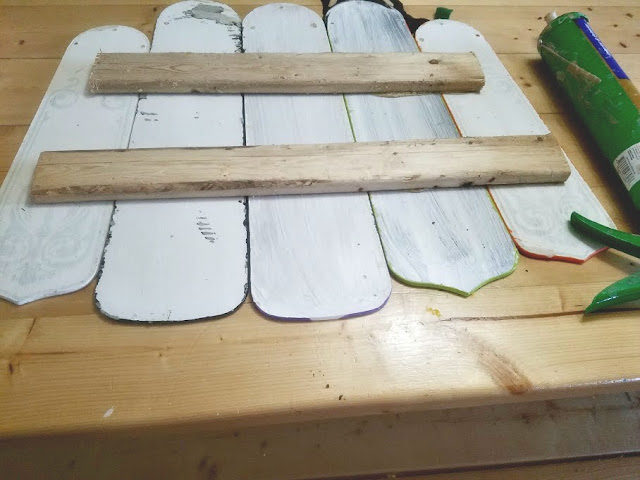
11. Using construction adhesive and (we use Liquid Nails) the wood pieces, attach fan blades together. Let dry.
12. Attach wire for hanging and display proudly!
